
Kathy Berryhill
Creek County Master Gardener
Now that our region has had the first freeze of the season, garden chores change. Many annuals and perennials are showing damage from the cool temperatures. Annuals can now be lifted and disposed of as they will not survive the winter. Healthy plants can be cut into smaller pieces and put in the compost pile. Dispose of diseased plants. Perennials can be cut back to several inches tall and covered with 3-4” of mulch. Additional watering that can be done now will help prepare plants for winter. According to Mesonet.org, the entire area of Creek County is in an extreme drought. Without added moisture, roots will suffer as the ground temperatures drop.
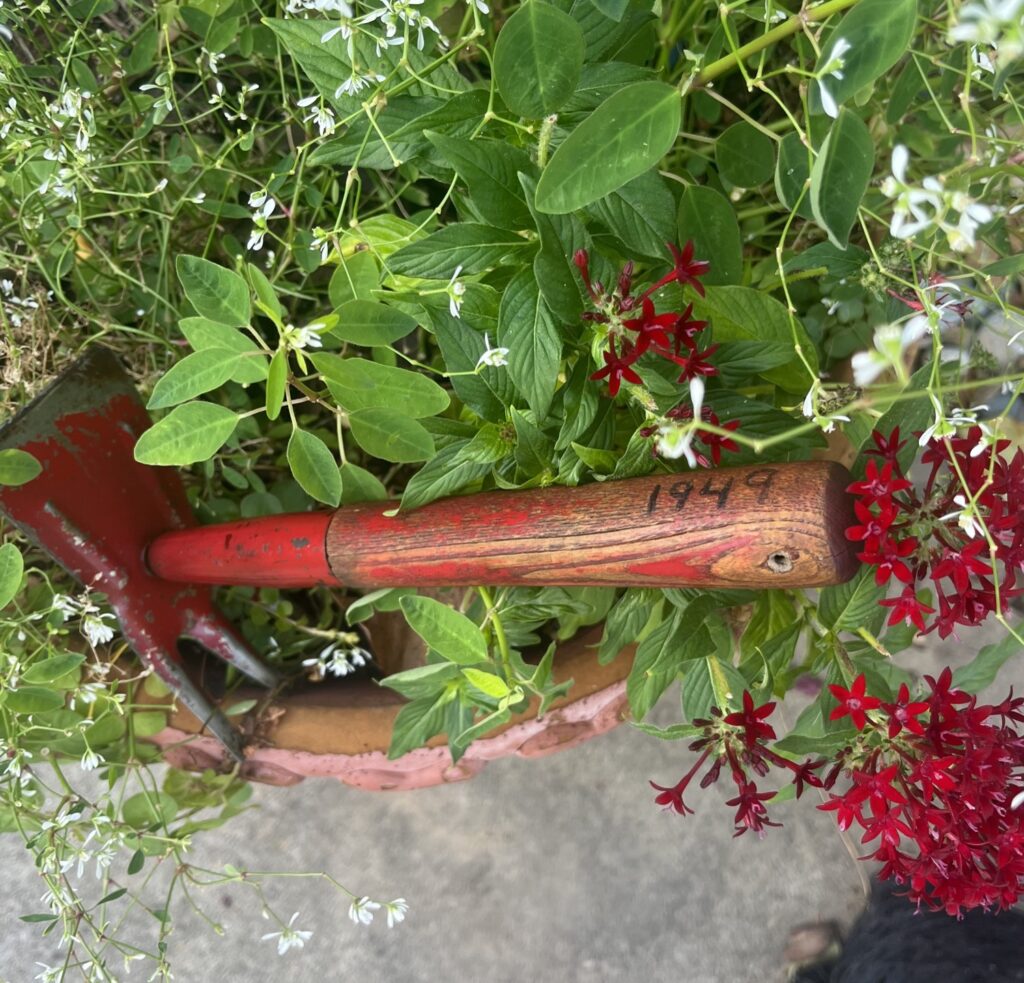
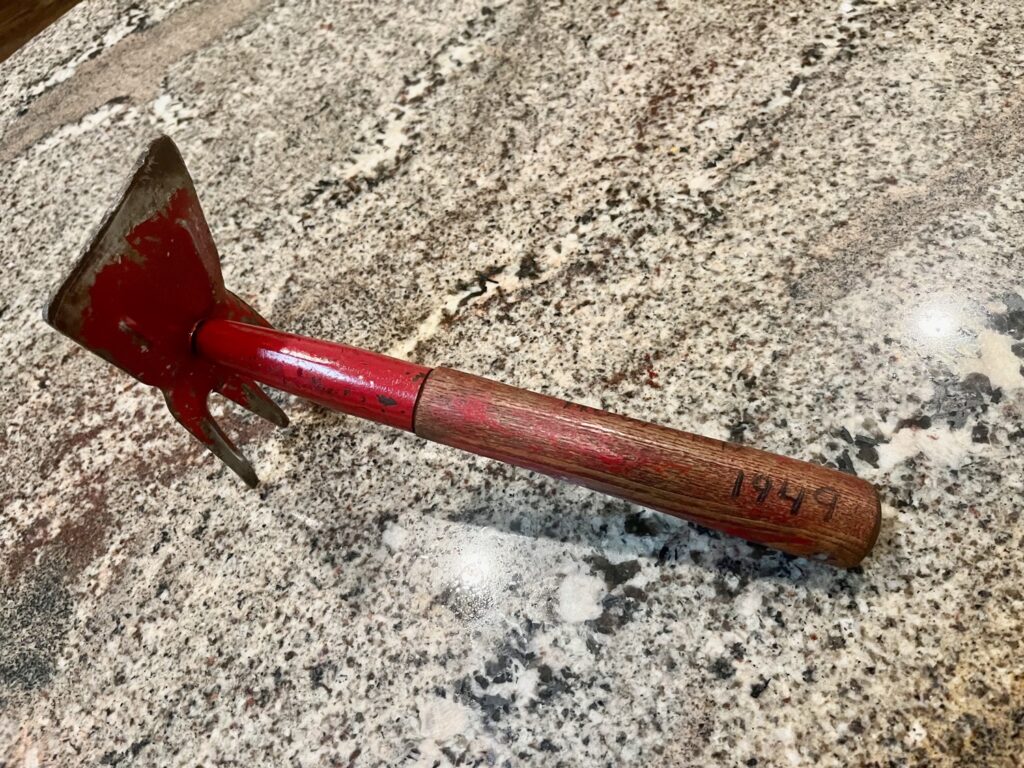
During the growing season, gardeners spend much of our time actively working in the yard. We invest in good quality tools which are sharp and clean, rush to the garden, work furiously and then may toss our tools into storage without any care. Often tools will be covered in hardened dirt and some rust may be appearing. Dirty tools will deteriorate and show the effects of the season’s wear and tear. Replacing worn garden tools can be expensive, but cleaning and maintaining tools just costs time! Fall is a great time to maintain tools to ensure they are ready for the next season.

Begin the clean-up process with a simple cleaning of the tool. Wash off any remaining soil using mild detergent and a stiff bristle brush to remove stubborn debris. Rubbing alcohol is useful to remove any sap. Once the cleaning is done, disinfect the metal part of the tool by dipping it in a 10% bleach water or alcohol solution for 30 seconds. Sand off any remaining rust with an 80-120 grit sandpaper. Apply linseed or tung oil with a clean rag to work as a rust inhibitor. Remove any excess oil after 30 seconds.
Next, inspect the wood handles for splinters and rough surfaces. Smooth the surface area by sanding with a medium grit sandpaper. At this point, bring the tools into a warm room, allowing the wood to warm to room temperature. Apply a good wood oil to help condition the wood. Saturate a cloth with the oil and apply a heavy coat. Linseed oils are recommended, but coconut or walnut oils also work well. Let the oil soak in for 10 minutes and then remove excess with a clean cloth. Older wooden handles may need additional coats of oil.
Finally, inspect the cutting edges as they will become dull with repeated use. Take extra precaution at this step by wearing safety glasses and gloves. For convenience, place the tool in a vice and use a file to lightly sharpen edges and remove nicks. Position the file at an angle to the edge of the tool, then draw the file along the sharp edge or cutting teeth in one direction. For a finer edge, use a sharpening stone lubricated with oil. Many saws and cutting tools will perform better just with cleaning, but sharpening can return the tool to just like new.
Check the bolts and moving parts and if they are loose, tighten them. It’s beneficial to spray a lubricant oil (like WD40) into the moving parts.
Now that your tools are maintained, store by hanging to prevent rust and dulling. Some gardeners keep their tools in a bucket of sand that has been drenched with linseed oil to help maintain tools and ensure they are ready to use. If you haven’t tried this method, now would be a good time to start.
Once tools have been cleaned and oiled, regular maintenance is recommended as a best practice. Either way, fall cleanup is essential and a good time to inspect your gardening tools.
Happy Gardening!