
Kathy Berryhill
Creek County Master Gardener
Garlic is one of the easiest crops to grow, store and enjoy! In fact, this close relative to the onion outperforms most vegetables and compliments a plethora of culinary tastes. Even better, garlic is planted in the fall after other gardening tasks have slowed and the hottest of days have passed. Garlic can be purchased from local nurseries, feed stores and other stores that sell gardening supplies. Purchasing garlic with large cloves makes the task of peeling and mincing easier. I experimented with ordering colossal garlic online last year and was very pleased with the result!
Ideally, garlic should be planted after the Autumnal Equinox. For our area, this date is Sept. 22. Planting in the fall will allow the garlic clove to produce roots and begin leaf growth before going dormant for winter. Giving the clove this head start will produce a larger yield than if planted in the spring. Avoid planting store-bought garlic, as it has often been chemically treated to prevent sprouting.

Practice good crop rotation and don’t plant in an area where onions or garlic have grown in the past two years. Prepare a planting area that is free of weeds with a good amount of daily sunlight. Like any crop, good rich soil will produce better results. Garlic needs a high level of nutrients. Having your garden soil analyzed at the OSU Extension office is a great way to determine how to manage fertilizing. Apply half of the needed fertilizer at the time of planting. The other half can be added when spring growth is 4-6in. tall. Avoid overwatering as nutrients can be lost to run off. If it is a very wet spring, consider a third application of fertilizer.
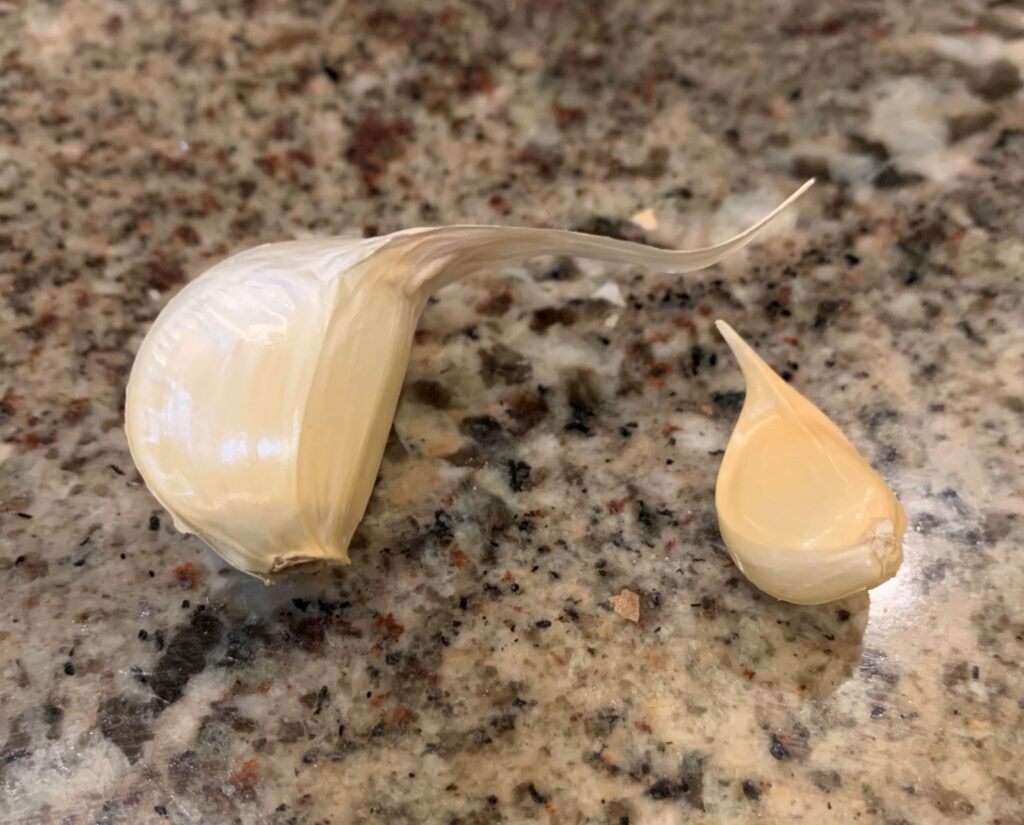
A garlic head (or bulb) contains many individual cloves and each clove will in turn produce a complete bulb. When a clove is broken apart from the bulb, each clove will have a flat bottom (where the roots emerge) and a pointed top (where the leaves will emerge). Carefully inspect each clove before planting as a damaged clove is subject to disease. Before planting, apply light pressure to the bulb to ensure it is not rotten (mushy) or completely dry. Poke a 2” hole in rich soil and place the clove “flat side down, pointy side up” and cover nicely with soil. Cloves can be spaced as close as 4-5” apart in rows that are 18’-24” apart.
Weed control can be easily managed with 4” of clean straw for winter protection. As the weather warms, remove the mulch from the bulb and place it in between the rows to control spring and summer weeds.
In late spring, garlic will produce a seed head (scape). Harvesting these delicious fresh greens will help the bulb conserve energy and make for a larger bulb.
As the bulb is finishing growing in early summer continue to monitor the amount of moisture to ensure it receives 1” of water weekly throughout June. As the heat of summer comes on, the garlic leaves will begin to yellow. At this time, reduce water applications to allow the plant to complete the bulb formation.
When you notice the lower leaves begin to yellow, the garlic is ready to be harvested. Harvest bulbs by digging, not pulling, the bulb. Gently remove soil, but do not wash as the papery bulb is needed for protection. Allow the heads to dry in a shady place for several days.
If garlic is stored in a dry, cool area, your crop will last for months. Enjoy!
The Creek County Master Gardener column is submitted each week exclusively to Sapulpa Times. Do you have questions for your Creek County Master Gardener? Send in your questions and column requests to news@sapulpatimes.com